
Author: Arden/Robin
感謝Arden學弟幫我完成macOS的建置教學(*/ω\*)
Editor
- Dev-C++ (includes compiler)
- Code::Blocks (Windows & Linux only)
- CP Editor
- Visual Studio (Windows only & includes compiler)
- Visual Studio Code
- Xcode (macOS only)
Setting up gcc/g++
Windows 10/11
Installation
- Install & Launch MSYS2
Ensure the
Run MSYS2 nowbox is checked.

- The MSYS2 terminal will open. Run the following command:
pacman -S --needed base-devel mingw-w64-ucrt-x86_64-toolchain
- Press
Enter

- Enter
Ywhen asked to proceed with the installation.
Ensure the network is accessible.
Installation Complete!

Add PATH
- Search for
Edit the system environment variablesin the Windows searchbox, and pressEnter

Environment Variables...->Path->Edit...

- Click
Newand enter the path:C:\msys64\ucrt64\bin

All Done!
Check g++ installation
Open cmd and enter the following command:
g++ --versionYou should see:

Linux (Debian based systems)
Open the terminal and enter:
sudo apt update
sudo apt upgrade
sudo apt install g++
macOS
Method 1: Installing the Xcode command line tools
The clang and clang++ compilers come with the Xcode command line tools.
Note that when you run gcc or g++, it’ll actually run clang or clang++.
To install the command line tools, use the following command.
xcode-select --installThis will prompt for confirmation. 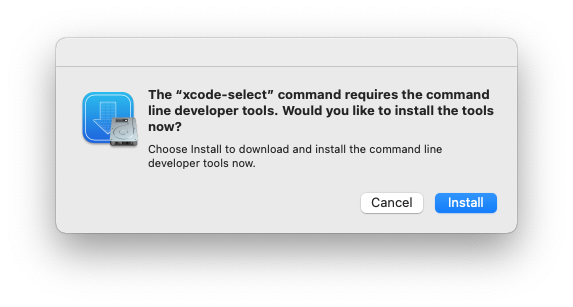 Click ‘Install’ to begin the download and installation process.
 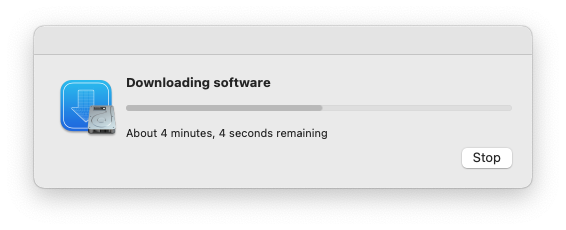 You’ll see a confirmation message when installation is complete.
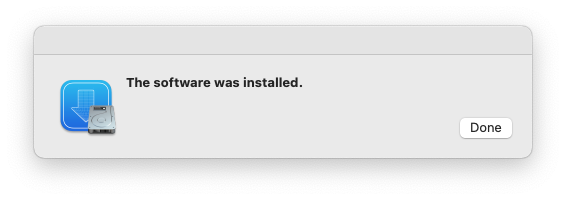
Method 2: Homebrew
Alternatively, you can install and use the Homebrew package manager to install the gcc compiler.
To install the Homebrew package manager, use the following command.
/bin/bash -c "$(curl -fsSL https://raw.githubusercontent.com/Homebrew/install/HEAD/install.sh)"You also want to add Homebrew to your PATH.
echo 'eval "$(/opt/homebrew/bin/brew shellenv)"' >> ~/.zprofile
eval "$(/opt/homebrew/bin/brew shellenv)"
Homebrew is now installed!
To use Homebrew, restart your current shell to reload the PATH.
exitYou can now use Homebrew to install packages.
To install the gcc compiler, do:
brew install gccgcc will now be installed.
Installing a Editor
Dev-C++ (Windows only)
Download Dev-C++ from SourceForge Just click next for each option
To create a new source file, do: File -> New -> Source File

To run your program, click the compile and run button.


Code::Blocks (Windows only)
Download from Code::Blocks from the official website
To create a new project, do: File -> New -> Project

Files -> C/C++ source -> Go

Click next, and select a directory.

Click Build and run to run your program.

CP Editor
The CP Editor is designed for Competitive Programming.
To download it, go to the official website

Additionally, CP Editor can submit your code to Codeforces automatically.
See the documentation.
Visual Studio
Visual Studio is a powerful IDE, but it may be overkill for small projects.
Download Visual Studio from Microsoft
Installation
Open the Visual Studio Installer, and choose Desktop development with C++

Creating a CLI project
Open Visual Studio, and select Create a new project, Console App 
Name your project and choose a location

Click Local Windows Debugger to run your code

Visual Studio Code
Download Visual Studio Code from Microsoft

Open the Extensions tab, install these 2 extensions

Open a folder. 
To create a new file, use: New File....

Click Run C/C++ file to run your program.

Xcode (macOS)
Xcode is a powerful IDE, but it may be overkill for small projects.
Download Xcode from the App Store.